


Contact Information

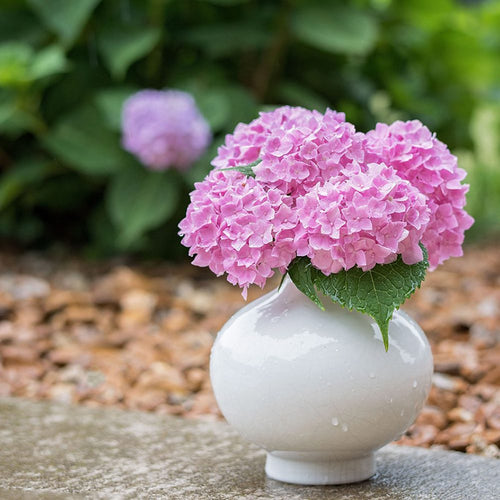
How to Dry Hydrangeas for Crafts - A Step-by-Step Guide

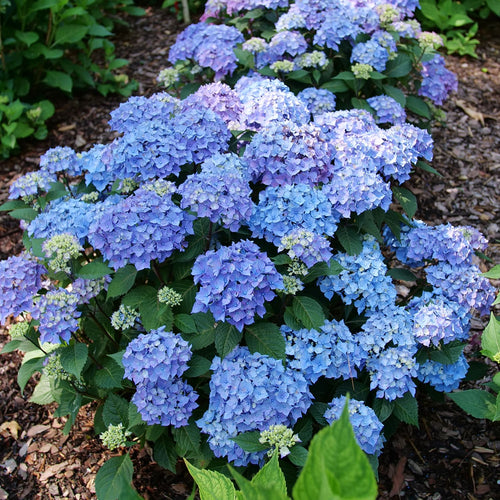
Step 1: Select the Hydrangea Blooms Carefully
Step 2: Determine Where to Cut the Hydrangea Stem

Step 3: Cut the Hydrangea Stems

Step 4: Dry the Hydrangea Stems Using the Water Method

Step 5 (Optional): Spray the Dried Hydrangea Blooms

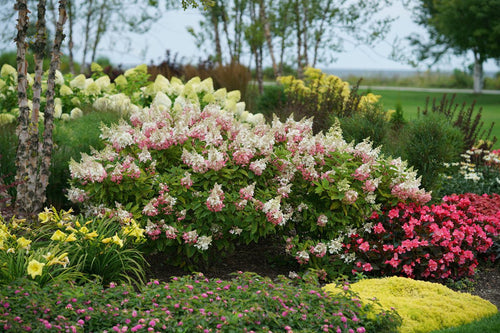
Fall Project Gallery


Winter Project Gallery


Related Posts
-

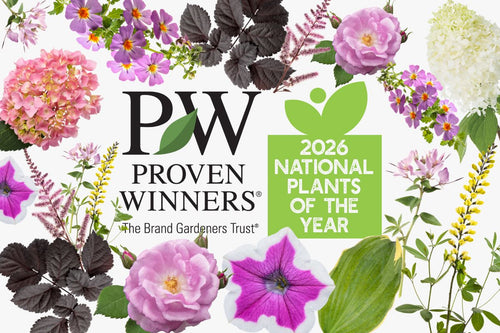
2026 Proven Winners Plants of the Year
-

Cheating Your Zone: How to Overwinter Tender Plants
-

10 Evergreens to Plant Instead of Boxwood for Hedges
-

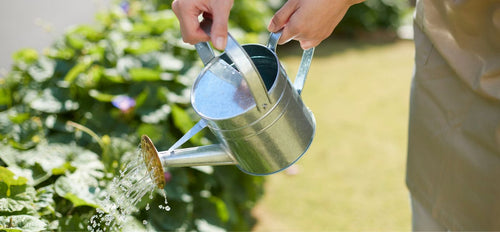
5 Ways to Conserve Water in Your Garden
-

10 Hardy Groundcovers for Sun and Shade Landscapes
-

How to Garden in Sandy Soil
-

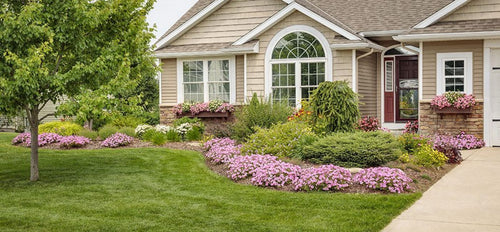
10 Front Yard Landscaping Ideas for Sun and Shade
-

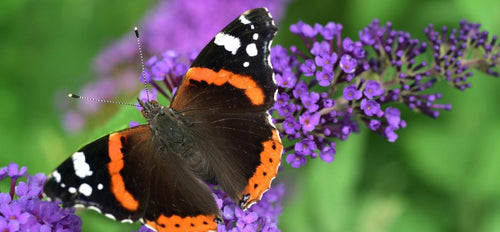
How to Attract Butterflies to the Garden
-

How to Grow and Maintain Young Shrubs
-

Pruning Evergreens
-

Meet the 2025 National Plants of the Year
-

Year in Review: Top 10 Plants of 2024
-

6 Live Christmas Tree Ideas for Your Front Porch
-

10 Fall Blooming Perennials and Shrubs
-

10 Fall Gardening Tips: Pruning, Harvesting, Mulching and More
-

Our 10 Best Dwarf Shrubs and Perennials for Landscaping
-

How to Cut Hydrangeas for Vases and Floral Arrangements
-

Top 10 Long Blooming Perennials and Shrubs
-

10 Shrubs That Like Full Sun and Heat
-

How to Grow and Prune Lavender Plants
-

Heidi and Rod’s Top 10 New Plants for 2024
-

Meet the National Recipes and Plants of the Year 2024
-

Everything You Need to Know About Growing Zones for Plant Hardiness
-

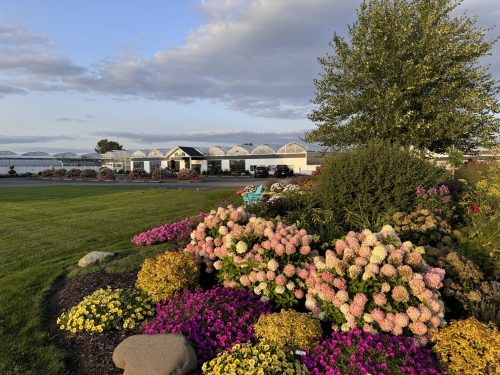
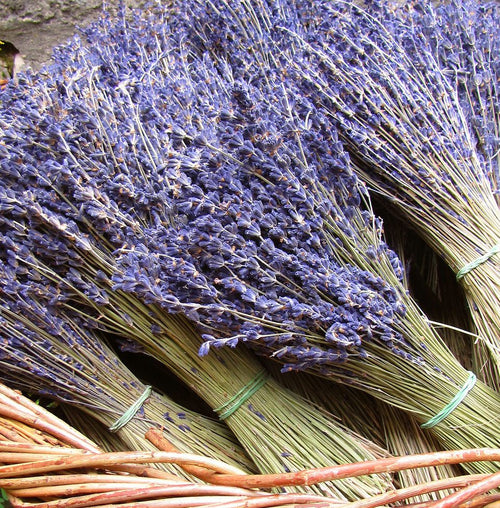
Best Flowers and Methods for Drying
-

Ask the Expert: Answers to Our Customers’ Most Commonly Asked Questions
-

Our 10 Favorite Perennials and Shrubs for Containers
-

What Should I Plant with My Hydrangeas?
