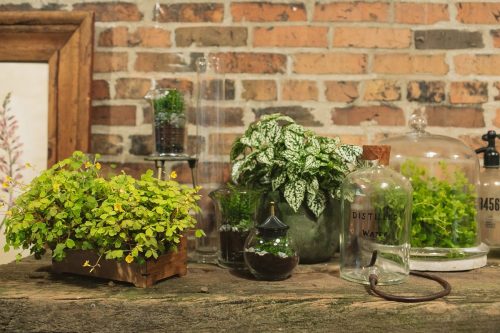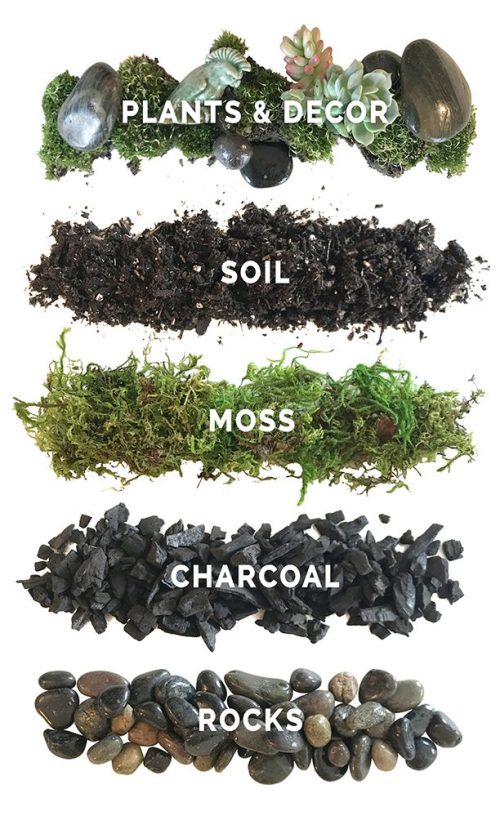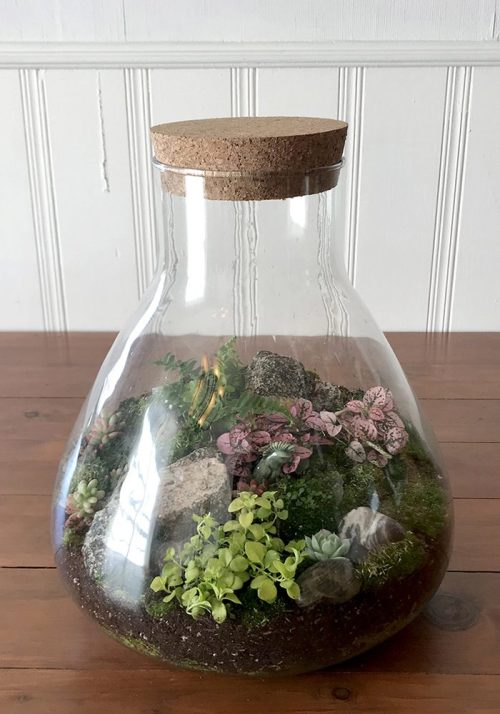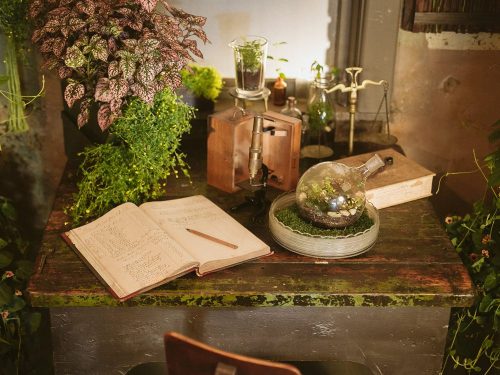
Winter is the perfect time to make a DIY terrarium—a garden under glass—that you can enjoy indoors until it’s time to get back out into your garden again. There are lots of different styles of terrariums to choose from, but they all contain the same basic few ingredients: a clear glass container with or without a lid, plants, soil, moss, activated charcoal and rocks. We’ll show you how to layer them together step- by-step, and share our DIY terrarium tips, below.

Gather Your Supplies
Terrariums are relatively inexpensive to put together and once you have all of your supplies gathered, it should take an hour or less to assemble. Here are the supplies you will need for this project:
A clean, dry, clear glass vessel with an opening big enough to fit your hand or fingers through. This project is far less tedious if you use a container with a larger mouth. If you choose one with a narrow opening, you’ll also need a long set of tweezers, a long, narrow spoon (like a sundae spoon), and an extra helping of patience to assemble your terrarium.
Small plants like those sold in our Fairy Gardening line in our retail store. Look for varieties that can tolerate low to medium light conditions, don’t tend to spread, and have small leaves that won’t block the light. Like you do with your outdoor containers, select plants that all enjoy the same amount of moisture. For instance, humidity-loving moss doesn’t pair well with arid air- loving succulents—moss grows better with moisture-loving ferns.
For closed terrariums, choose plants that enjoy moisture and humidity like moss, ferns, oxalis, African violets, polka dot plant and wire vine. For open terrariums, choose more desert-like plants such as echeveria, aloe, crassula and sedum. Make sure the plants you choose are in scale with the glass receptacle you are using. They should be able to fit inside without touching the sides or top.
Drainage materials for the bottom of the terrarium including small stones or aquarium gravel, activated charcoal (sold in small bags near the indoor gardening supplies), and sheet moss. These items will help to prevent water buildup around the roots and will help to keep the terrarium clean.
Fresh potting soil without fertilizer added is the best type to use in a terrarium. Unlike your outdoor containers, terrariums do not need to be fertilized.
A spray bottle filled with water will be needed at the very end to help water your plants in and clean off the walls of your terrarium.

Assemble Your Terrarium in 7 Steps
Now that all of your supplies are on hand, you are ready for the fun part—assembling your terrarium! Follow these steps in this order:
- The small stones or gravel go in the bottom of the container. Depending on the size of your vessel, you’ll need about a 1⁄2 to 1 inch thick layer. This is where any excess water will collect, away from your plants’ roots.
- A similar layer of activated charcoal goes on top of the stones. Charcoal will help to filter out any toxins and odors that build up in the terrarium.Lay a piece of sheet moss over the charcoal. This will help to prevent the potting soil from filtering down into the stone and charcoal layers.
- Lay a piece of sheet moss over the charcoal. This will help to prevent the potting soil from filtering down into the stone and charcoal layers.
- Potting soil comes next. You’ll need a thick enough layer to accommodate the roots of your plants. Most fairy garden plants come in tiny 3” pots, in which case your soil layer will need to be about 3” deep.
- Next, plant your plants into the soil. This step is much easier if you are using a vessel with a wide enough opening to accommodate your whole hand. Otherwise, use a long-handled spoon and tweezers to assist in planting. The foliage shouldn’t be touching the sides or top of the vessel once they are in place.
- If you have any decorative elements to add such as cones, bark, colored gravel or little trinkets, add them last.
- When you are all finished, use your spray bottle to gently moisten the soil and wash off the insides of the glass. Use water sparingly. It is much harder to remove excess water in a terrarium than it is to add more.

Maintaining Your Terrarium
Set your new masterpiece in a bright space that does not receive direct sunlight. Clear glass acts like a magnifying glass, and you don’t want to burn your plants. One of the nice things about terrariums is that you don’t need a sunny window to grow one well.
Sealed terrariums shouldn’t need much watering since the plants will live off the humidity in the vessel. It’s a good idea to open the lid every few weeks to let the excess condensation evaporate and let your plants breathe. Open terrariums should be misted with a spray bottle every 3 to 6 weeks, so the soil stays moist but not wet. You want all of the excess moisture to be used up before adding more or your plants could rot.
There is no need to fertilize the plants in your terrarium. They will get all the nutrients they need from the soil and other elements in the vessel as they break down.
Wasn’t that a fun project? Terrariums are fun to have all around the house to bring a little piece of the outdoors in. They also make great gifts for your fellow plant enthusiasts. Enjoy!

1 thought on “DIY Terrarium Tips”
You can also create your own aquarium. Potted aquarium plants are one excellent addition to your fish tank ecosystem. An aquarium owner can just learn how to grow aquarium plants in pots and then transfer them into the aquarium to save money.