Have you ever enjoyed a piece of art, wreath or bath salts that incorporated dried flowers and thought about drying your own? It’s an easy way to extend the use of the flowers and plants from your garden and bring nature inside. Let’s take a look at some types of plants you could be growing for this purpose, as well as a few tips on preserving them.

Best Flowers for Drying
Consider growing some of these flowers to harvest for drying for use in bouquets, crafts, making biodegradable confetti, potpourri and more.

Plants to Grow for Dried Seed Heads, Cones and Stems
The most beautiful wreaths and arrangements made from preserved natural materials combine both flowers and seed pods or cones. A strong mix of textures, forms and colors makes the combination dynamic, just as it does with fresh flowers in bouquets and landscape designs. Try growing a few of the following plants along with a mix of the flowers listed above.
- False indigo (Baptisia)
- Fountain grass and other ornamental grasses
- Columbine
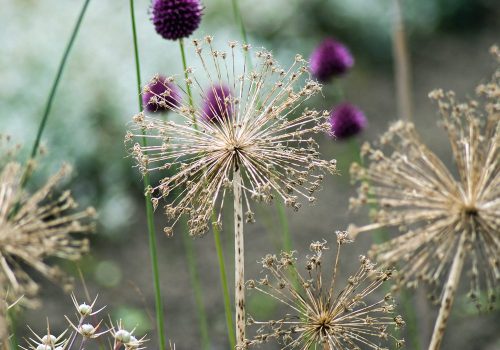
- Allium
- Poppies
- Milkweed
- Lupine
- Yucca
- Coneflowers
- Millet
- Sedum
- Red twig dogwood stems
- Boxwood (preserved foliage)
- Buttonbush
- Conifers
Basic Steps for Drying Whole Flowers and Seed Pods
When your flowers are at their peak during the growing season, make a point to harvest some stems to use later in dried arrangements. Do so on a day there is no rain so you can harvest them when they aren’t wet. Select flowers whose petals are fully open since those that are too fresh or still in bud can wilt quickly once cut. Likewise, harvest seed pods once they are fully formed. Then, follow these five simple steps:
- Strip off the foliage from the stems, leaving just the flowers or seed pods. Keep the stems long so you can tie them together.
- Bunch a few stems together and tie them with a rubber band or twine.
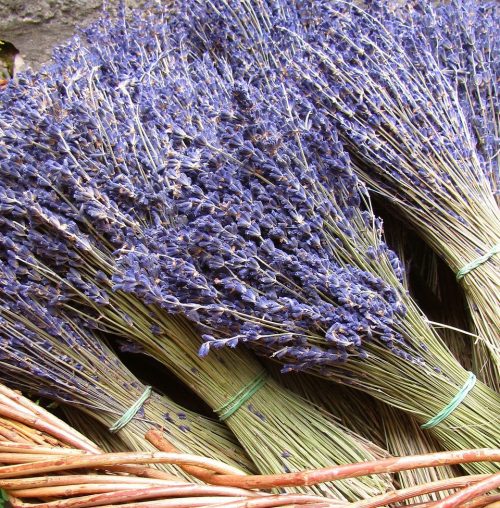
- Hang the bunch upside down in a dark, dry place that has good airflow to help prevent mold.
- Leave them hanging for two to three weeks until they are fully dry. It’s common for seed pods to open and disburse their seeds during this process, so plan for that if you are drying them indoors.
- Spray the dried flowers or seed pods lightly with unscented hairspray to help them last longer.

An Easy Way to Press Flowers
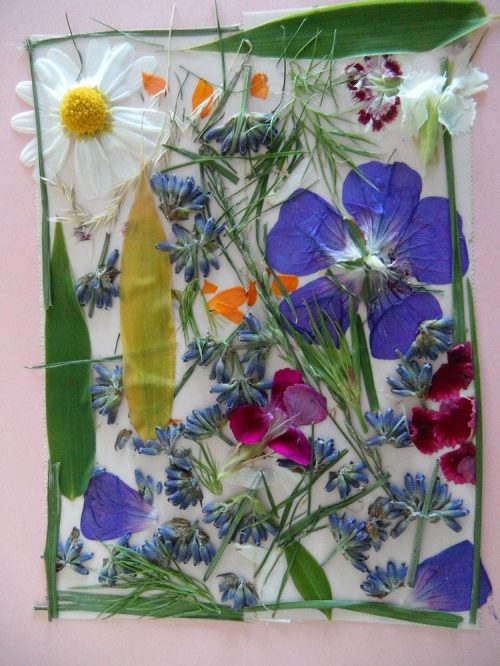
If you want to try your hand at pressing flowers for the first time or just have a few blooms to dry, the book method is one you might consider. You’ll need a few heavy books, a piece of parchment paper, and two sheets of absorbent paper such as watercolor paper or cardstock.
Use only the flowers or petals, and try to choose a type that will lay fairly flat like pansies or rose petals. Lay them face down on a piece of parchment paper. Open the book halfway and set one sheet of absorbent paper on the page. Then, set the flowers lying on the parchment paper onto the absorbent paper. Lay the second piece of absorbent paper on top of the flowers. Gently close the book.
Set the book someplace where it can be left undisturbed for three to four weeks. Pile a few more heavy books on top of it to press the blooms nice and flat. After a few weeks, carefully open the book to check on your flowers. They will be ready to use for framed artwork or crafts once fully dried.
A Faster Way to Dry Flowers
If you don’t have a few weeks to wait for your flowers to dry, try using silica gel beads instead. It will cut your drying time down to three to seven days as the beads absorb the moisture from the blooms. Plus, the beads can be reused multiple times before needing to be replaced.
In a shallow, airtight container, pour about an inch of silica beads to cover the bottom. Then, set the flowers you’d like to dry face down on top of them. Gently pour in more silica to fully cover the flowers. Close the lid tightly and set the container in a cool, dark place. Flatter flowers should be ready to use in just a few days. Thicker ones may take up to a week to dry fully.

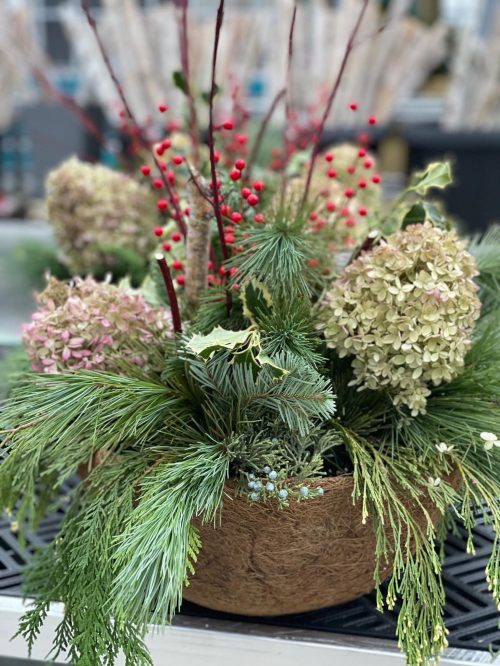
Dried flowers, seeds and stems can be used year round in all sorts of ways. One of our favorites is using dried hydrangea flowers, winterberry holly and red twig dogwood stems in winter arrangements. If you live local to our retail store, join us each year in early winter for one of our in-store workshops to make your own porch pot!
