Caring for Your Clematis Vines
Improving Your Success with Clematis
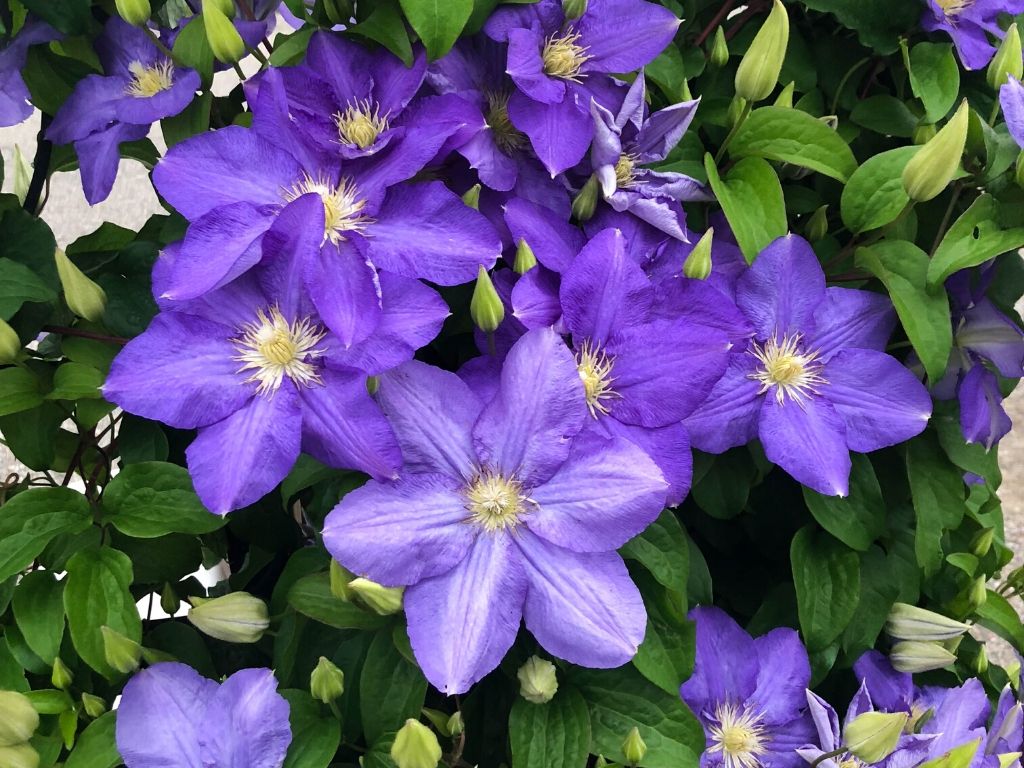
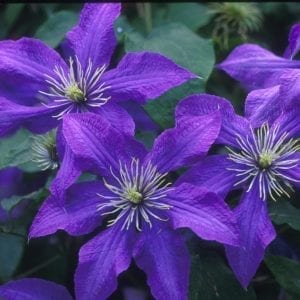
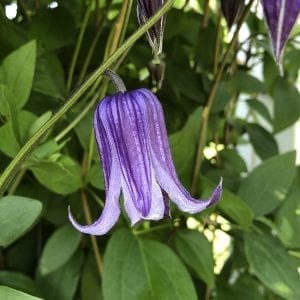
Clematis are one of the most coveted perennials of gardeners and landscapers alike. With a vast array of bloom sizes, flower colors, and bloom times it’s easy to see why Clematis has become one of our best selling perennials. To help you succeed with our plants, we have compiled the following guidelines for you to follow.
Upon Arrival
Upon receiving your new Clematis, it is important to open the shipping box(es) immediately. Carefully remove all packing materials and containerized plants from the carton(s). Do NOT keep the plants in the shipping boxes as this will reduce plant quality and may lead to plant disease or death. If the potting mix is dry upon arrival, apply water to the containers until the root zone is thoroughly moist. When possible, plant your new perennials within 1-3 days after they have been received. If it is not possible to plant them within this time period, keep them in an area that provides some degree of shelter from the natural elements (sun, wind, rain, etc…) until they can be planted.
Clematis Environment
Clematis grow best in locations that receive plenty of sunlight, at minimum they should receive at least 5 to 6 hours of direct sunlight each day. The roots should be kept shaded to keep the roots system cool and moist. In many instances, this can be done using low growing plants such as annuals, groundcovers, or low shrubs; otherwise, place 2-3″ of pine bark around the base of the plant to help retain the soil moisture. If mulches are used, keep the mulch an inch or so away from the base of the plants to prevent problems with stem diseases. Besides planting them in a location which provides sunlight and maintains a cool root system, Clematis requires something for them to climb on or to twine around. Small, large flowered hybrids can be planted near trellises or on strings against a wall and the larger hybrids or species will require a more significant support such as a wire fence, a hedge, or a small tree.
Clematis Planting & Soil Preparation
Prepare a planting hole about 20″ deep and 18″-24″ wide. Loosen sides and bottom of hole so that roots can penetrate. Mix removed soil with lots of humus, or a compost/pine bark product, sand, one handful of lime. Partially backfill the hole with this mixture before planting. Slip the plant from the pot without disturbing main root ball. Handle the plant carefully to avoid damaging the stems. When planting Clematis species, plant them at the same depth as it was in the pot and Clematis hybrids should be planted at least 2 inches deeper than it was in the pot. Planting Clematis in this manner will minimize the likelihood of Clematis wilt and will help protect the roots from cold during the winter months. Press the remainder of the compost/humus and soil mixture firmly around the plant, leaving the area slightly mounded to allow for settling. Water them thoroughly after planting.
Clematis Maintenance
Applying mulches in the spring will help keep the root system shaded and cool. The soil should be kept moist but not wet. Be sure to keep them watered during hot weather and dry spells. The soil should be kept moist, but not wet. They are moderate feeders. Fertilizers can be applied as needed to promote healthy growth. Adding aged cow manure or compost to the soil every spring will provide clematis with the nutrients they need to grow healthy and strong. Yearly applications of slow release fertilizers in the spring are another effective method of delivering nutrients to clematis. If you prefer to use liquid fertilizers, they and be applied monthly between April and July, making the applications when the soil is moist.
Clematis Pruning
Depending on the cultivar, Clematis bloom from various types of growth each year. It is important to understand how each cultivar blooms in order to properly prune them. When done properly, pruning will promote flowering. Conversely, when Clematis are not pruned properly, the flowers will be delayed or they might not flower until the next growing season. For example, certain varieties flower only on the previous year’s growth. These cultivars should only be pruned to remove weak or dead stems after they have finished flowering. To help avoid confusion, Clematis can be separated into groups based on their flowering characteristics and pruning preferences. For your convenience, these groups are listed below. You can also view the specific pruning requirements for each cultivar by clicking on the ‘More Detail’ link at the end of each cultivar description in our online catalog. Our general recommendation is to prune all Clematis to about 12 inches within the first year of planting. This encourages them to form a strong root system and promotes new shoots to develop which leads to more flowers in the future. In the following years, they should be pruned to a height of 3 to 5 feet or by following the specific pruning guidelines for each specific cultivar as outlined below.
- Group 1
Clematis cultivars in this group flower on the previous season’s growth. Generally, they can be left unpruned. If pruning is necessary, wait until the flowering is completed and remove only the weak or dead stems.
- Group 2
These cultivars produce early season bloom on the previous season’s growth and late season flowers on new growth. Generally, these cultivars are only pruned to shape. In the early spring (February or March), prune them lightly above the first pair of new swollen leaf buds, removing about 12 inches from each shoot. Also remove any dead or weak stems at this time.
- Group 3
Varieties within this group flower on the new season’s growth; they are often the most vigorous cultivars. Prune all of the main stems back to about 3 feet above the ground in February or March, leaving at least one pair of strong looking buds on each stem. Also remove any dead or weak stems at this time.
Written by Paul Pilon: Perennial Solutions Consultin
Showing 1–36 of 46 results

