So, you want to start a garden! That’s wonderful news! Growing a garden is a fun and rewarding process that takes time and is well-worth the effort. Here are ten steps to follow when starting a new garden from scratch. You might be surprised to find that planting doesn’t begin until step 8. Much of growing a successful garden lies in the planning.
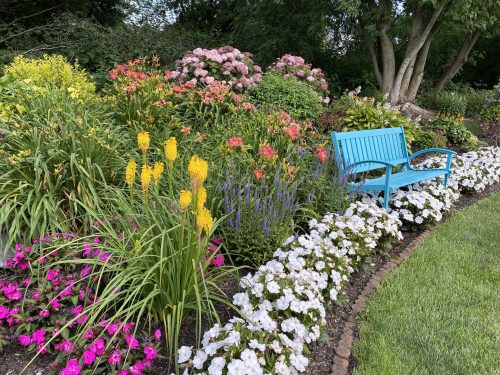
1. Observe what you have to work with.
The very first step to take before you start a garden, whether it’s for a brand new house or one you’ve lived in for years, is to observe the space. Start by considering:
Where does the sun shine in your yard? It’s easiest to grow a garden in places that receive at least four hours of sun per day.
Where is there enough space to grow a garden? Typical perennials and smaller shrubs will need a bed that is at least 3 feet wide, but if you want to grow more than one straight row of plants, your garden bed will need to be wider.
How will you water your new plants? Do you have underground sprinklers or do you plan to water by hand? Be sure to site your new garden bed someplace that has access to water.
What is your soil type? Two common ones are clay and sandy loam. If it is hard to dig a hole and your yard stays wet for a long time after it rains, you might have clay. If it is very easy to dig a hole and your yard generally is quite dry, you might have sand or sandy loam. Since some plants have a preference for a specific type of soil, it’s important to know what you have before you start selecting plants.
What kind of critters call your yard home? If you have deer or rabbits, you’ll need to look for resistant plants.
In addition to the cultural conditions of your landscape, consider how much time and money you have to dedicate to your new garden project. Be realistic about how much time you will have to maintain it. It’s a good idea to start small, then expand it over time.
2. Define your garden’s purpose.
A new garden is something you will have for a long time and will probably pass on to the next owner of your home. Take the time in the very beginning to make a long-term plan. What is the purpose of the garden? Growing your own food, installing plants for more privacy, planting flowers you can use for fresh arrangements, and using plants to decorate an outdoor living space are a few common reasons why people grow a garden. Consider how it will fit into your lifestyle before you begin.
3. Do your research.
As with any new project, it’s a wise idea to do your research in the beginning. That’s especially important when you are working with living things like plants, and growing a garden that you’ll be enjoying for years to come.
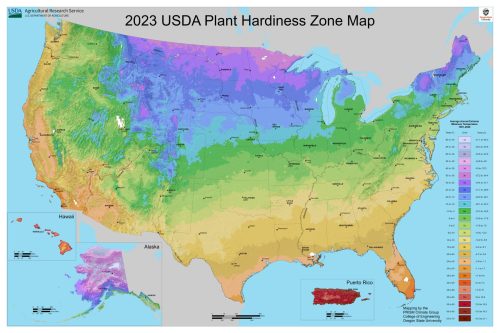
Start by identifying your hardiness zone. If you aren’t sure what it is, this tool will help. Your zone is important because the perennials, trees and shrubs you will grow all thrive within specific hardiness zones where the temperature doesn’t typically get too cold in the winter for them to survive. For example, we know that our zone 5 Michigan winters are too cold for zone 9 palm trees to survive. Be sure your hardiness zone matches up with the zones of the plants you select.
Other research you might want to explore before getting started includes:
Which kinds of plants will thrive in your garden’s amount of sun or shade
Which kinds of plants will grow well in your soil type
Which plants flower in the colors you prefer and what time of year they bloom
Which types of evergreens could make a good background and provide winter interest
How to eliminate the weeds or other undesirable plants that are currently occupying the space where you want to grow a garden
How to transplant existing plants in your yard into your new garden space
Options for hardscape materials including retaining walls, edging, pathways, benches, etc.
Which kinds of mulch will work best in your new garden
Irrigation options you can do yourself or require professional installation
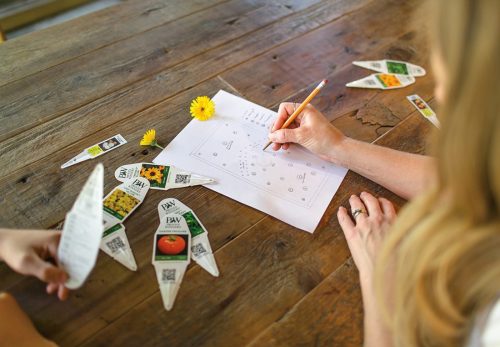
4. Sketch a plan.
Just as well-paved roads and sturdy bridges are important to our cities’ infrastructure, so is the foundation of your garden. Start by defining the space. Consider the location of patios or decks, where the pathways will run and how they will be used, how you will bring irrigation to the new garden, containers could be used as accents—basically everything but the plants.
Then it’s time to sketch a plan for your new plants starting with the largest ones. Trees anchor the space, larger shrubs form the background, smaller shrubs and perennials and large annuals fill in the middle of the bed, and small perennials and annuals round out the edge. At this stage, your plants are only on paper. You can begin to shop for your plants once you have a plan, but there is more work to be done before they are ready to be planted in step 8.
5. Remove what is unwanted and lay the new infrastructure.
Before you can install a new garden bed, you’ll need to remove whatever is unwanted in the existing space. Perhaps you’ll need to remove a section of turf grass or take out a few old, overgrown shrubs. If your goal is to renovate a weed-infested bed, sometimes it is easier to remove everything from the bed first and then transplant back in the good plants you want to save.
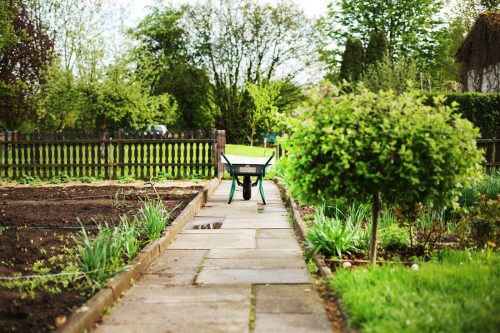
Next, it is time to install your new hardscaping or tweak what is existing. Retaining walls and pathways are built, patios are laid or expanded, new bed lines are defined and edged. At this stage, you are preparing a welcoming place for your new plants. If necessary, call in professional help to get the job done right the first time.
6. Amend the soil.
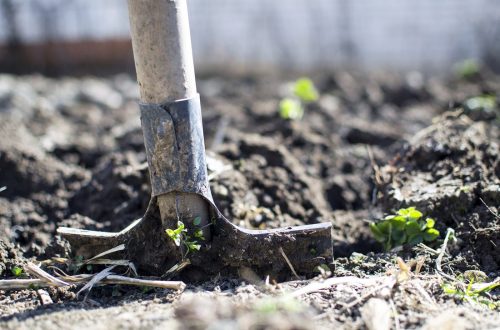
For many years, experts recommended planting “a $10 plant in a $50 hole.” The idea was to start your plants off right by giving them a good home with wonderfully rich soil filled with nutrients to help them thrive. This idea has more recently been challenged by studies which have shown that trees and shrubs may grow better if you don’t improve the soil at all. The best advice likely lies somewhere between the two extremes.
One thing you’ll surely want to avoid is creating the “bathtub effect”. This happens when you dig a hole for your plant, then backfill the hole only with non-native soil such as the bagged garden soil you’ll find at garden centers. Essentially, this creates a larger pot in the ground for your plant. Moisture tends to linger in the hole you’ve dug rather than moving laterally out into the native soil. The plant’s roots stay too wet and can rot, and they struggle to grow out into the surrounding native soil.
To avoid the bathtub effect, be sure to backfill the planting hole with a mix of at least 50% of the native soil you dug out plus a maximum of 50% non-native soil and amendments such as bagged garden soil, compost, peat moss or other soil amendments. This is not an exact formula. You could try a 75% native/25% non-native soil mix to see how well your plants respond. The right balance will depend somewhat on your existing soil composition.
7. Set your plants in place, but don’t plant them yet.
It is finally time to start playing with your new plants! Using the design you sketched in step 4, set your plants out according to your plan. Pay close attention to their mature size to avoid unnecessary transplanting in a few years. Now is the easiest time to tweak your planting plan.
Set the pots or transplants in place on top of the soil, then stand back and see how you like the way they look together. Pay close attention to details like how the plants complement one another in texture, color and size. Check if you have a good mix of plants that will bloom in all different seasons. Take notes on other plants you’ll want to add in the future like spring flowering bulbs or fall blooming mums.
8. Time to plant!
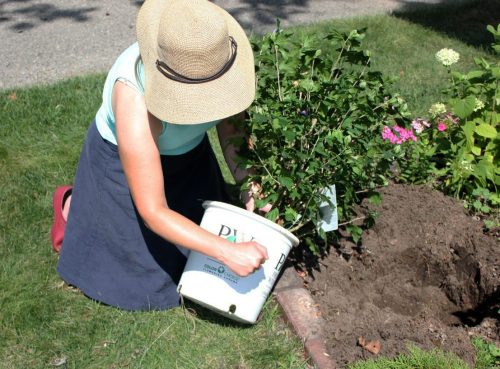
All of your planning and preparation has paid off. Now it’s time for the fun part—planting! Making sure to follow the guidance in step 7 regarding soil amendments, plant your new potted and transplanted plants into your new garden bed. A bit of Bio-Tone® starter fertilizer mixed into the bottom of the planting hole will help your plants’ roots get established. Since you took the time in step 7 to determine placement, your actual planting time will be greatly reduced and you’ll be finished in no time flat.
9. Water your new plants.
It’s very important to water your new plants right after planting because this helps to settle the soil around their roots and eliminate any large air pockets in the hole. Water everything thoroughly, then check to see if any soil needs to be adjusted here and there to cover the rootballs. You don’t want to see any roots showing after you’ve watered your plants in for the first time.
10. Add mulch.
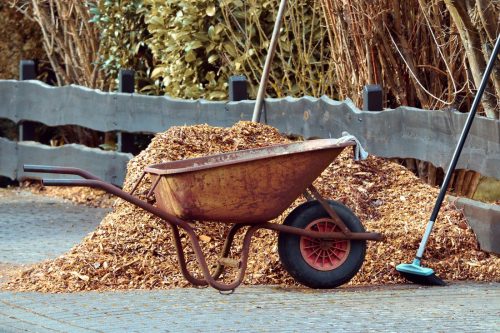
Many people mulch their garden beds because it gives them a more polished look. However, mulch is much more than just good looking! It performs several other important functions including:
Suppressing competing weeds
Retaining soil moisture
Regulating the soil temperature
Providing nutrients to your plants as it breaks down
When you add mulch to your new garden bed, aim for a 2 to 3 inch thick layer of shredded hardwood or bark. Leave a little space around your plants, taking care not to let the mulch touch the crown (base) as that can invite unwanted creatures and promote crown rot. Repeat an application of mulch annually as needed.
You’re done! Time to sit back with a glass of cold lemonade and enjoy your beautiful new garden. Nice work!
Learn more:

4 thoughts on “How to Start a New Garden in 10 Steps”
Thanks so much Heidi for this article. I am planning a new (small) garden bed in my back yard on the corner of our retaining wall this year. All the information you have added is very helpful. Thanks again!
I am enjoying the videos, no matter how much we know there is always more,thank you~Abby in Ohio
Thank you for watching!
Dear Susan,
Thank you so much for this educational article. With my garden business, one of my greatest challenges was to convince clients that a garden could not be established in a week; they had a hard time realizing all the work I needed to do prior to planting.
You are doing such a great service to fellow gardeners and “newbies.”